Client Portals in WillowSpace are a powerful way to deliver a polished, organized, and on-brand experience to your clients. Each client gets their own private portal where they can view projects, sign documents, pay invoices, and stay up to date—all in one place.
Here’s how to get it set up and customized for your business.
Customize Your Branding
To make your portal reflect your business identity, start by setting your brand elements:
-
Go to Account > Branding
-
From here, you can upload:
-
Your logo – This will display in the header of every client portal
-
Your brand colour – Used for buttons, icons, and highlights in the portal
-
Your custom domain – Create a branded URL like yourstudio.willowspace.app
-
Your favicon – This will show as the browser tab icon when clients visit the portal
-
These settings apply across all client-facing experiences, including proposals, invoices, and client portals—ensuring everything feels consistent and professional.
How Portals Are Created
Portals are automatically created as soon as you add a client.
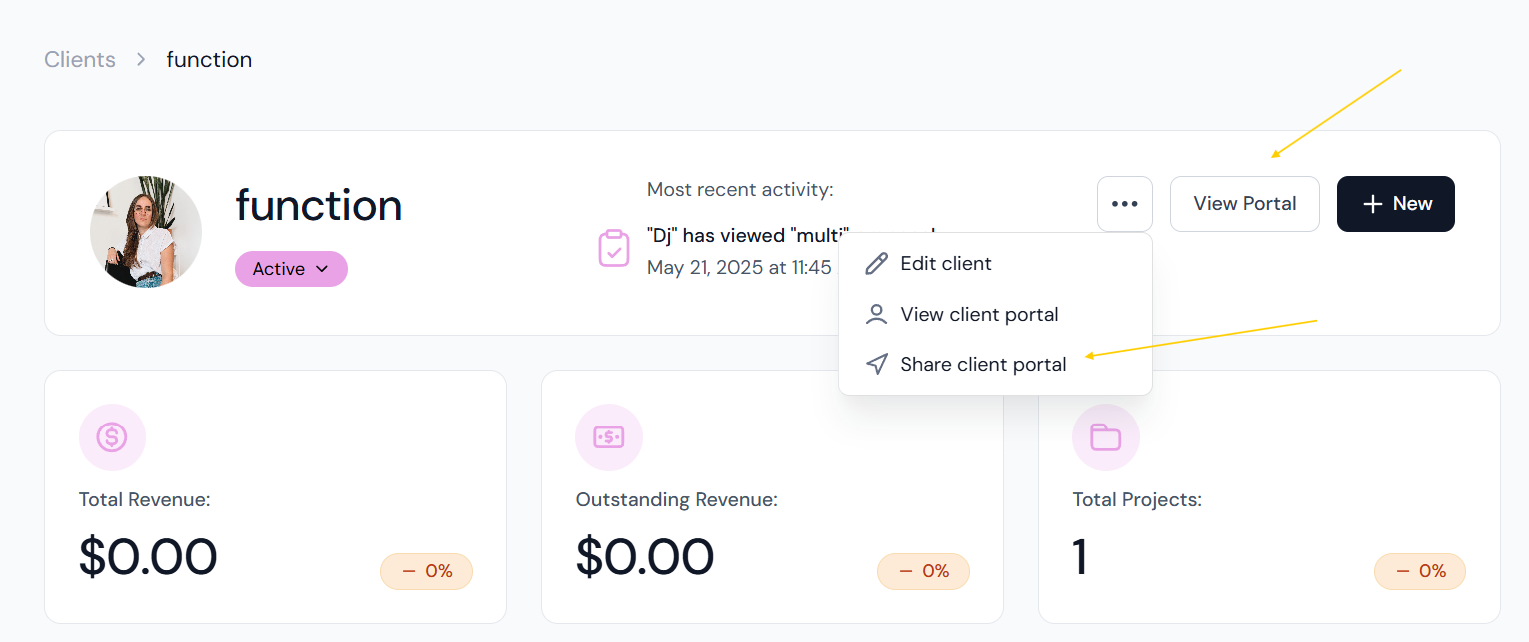
How to Send Portal Access to a Client
To invite your client to view their portal:
-
Go to Clients from the main menu
-
Select the client you want to invite
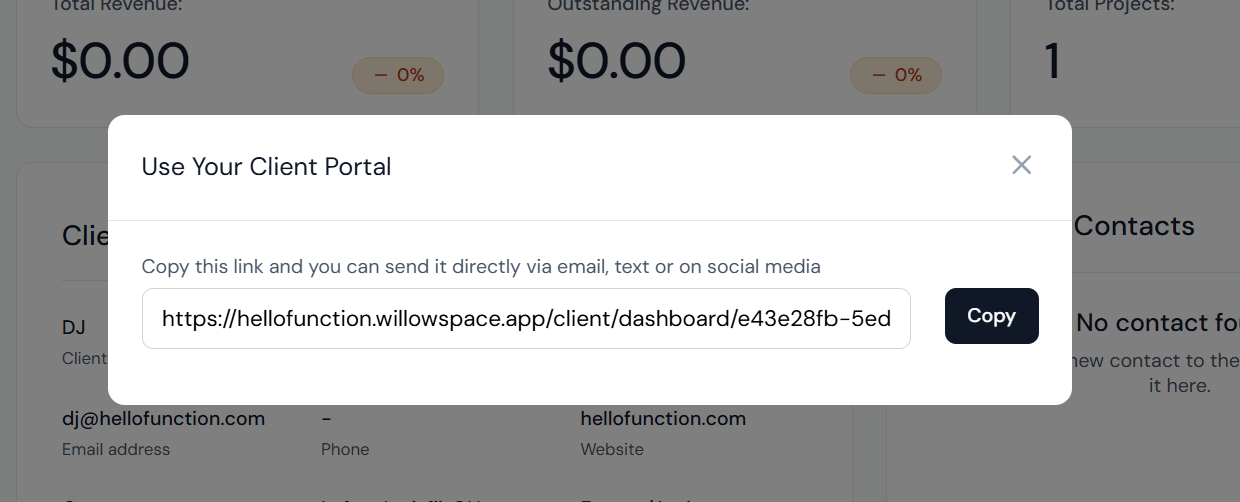
- Click on the ... button to Share client portal
- Copy the URL and send to the client in a new email from WillowSpace
This sends a branded email with a secure, no-login-required link to their portal.
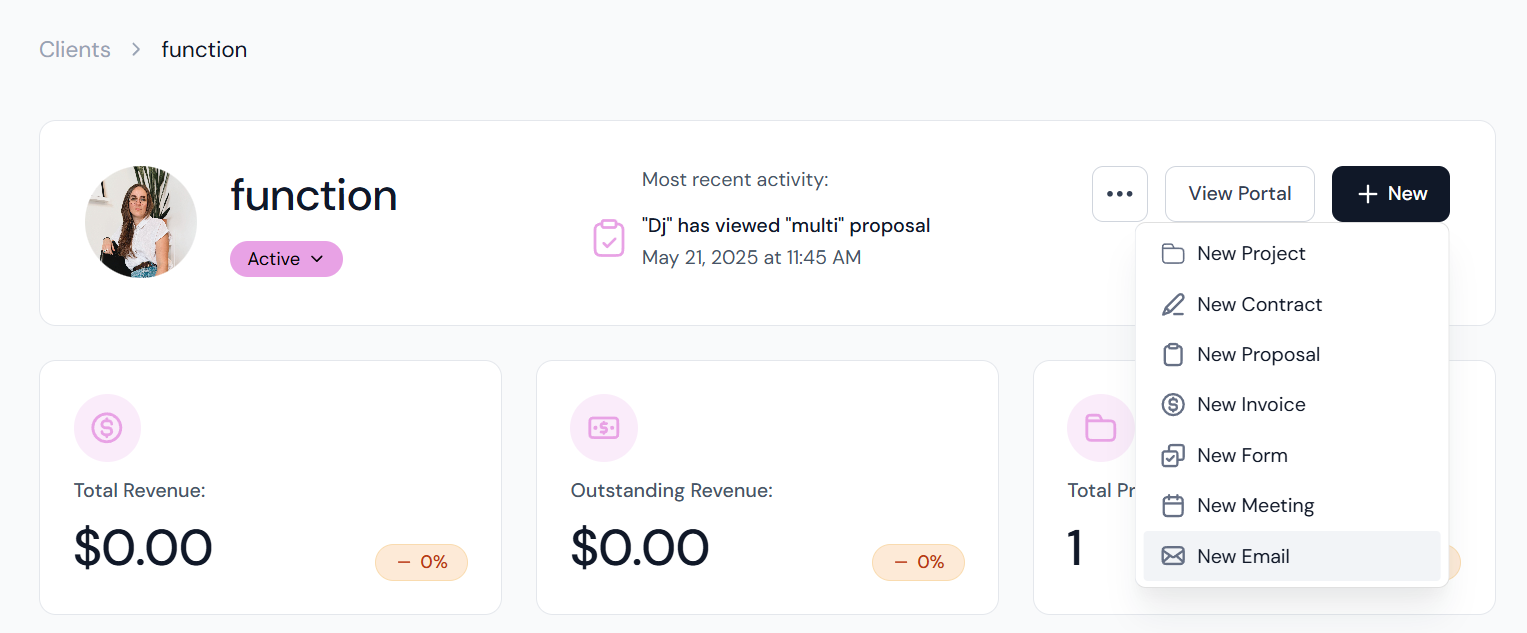
✅ Pro Tip: You can also include a portal link in other emails or workflows if you want to embed it in your onboarding process. Go to your Settings > Emails to create a new Email Template under Clients to reuse a portal/onboarding/welcome email with clients.
Do Clients Need a Login?
Nope! Clients do not need to create a password or log in. The link they receive is secure and gives them access to their portal with just one click—easy and frictionless.
What’s Next?
Once your portal is branded and shared, your client will be able to:
-
View active projects and progress
-
Submit or sign forms, proposals, and contracts
-
Pay invoices and view billing history
-
Book meetings and view their schedule
-
Request new work or meetings if enabled